From within your self-serve account you can setup a new campaign by selecting ‘New Ad’ from the menu on the left hand side.
Start creating your ad within the Campaign Details section, by entering a Campaign Name.

The Campaign Name is limited to 100 characters, and is not shown to users who view the ads.
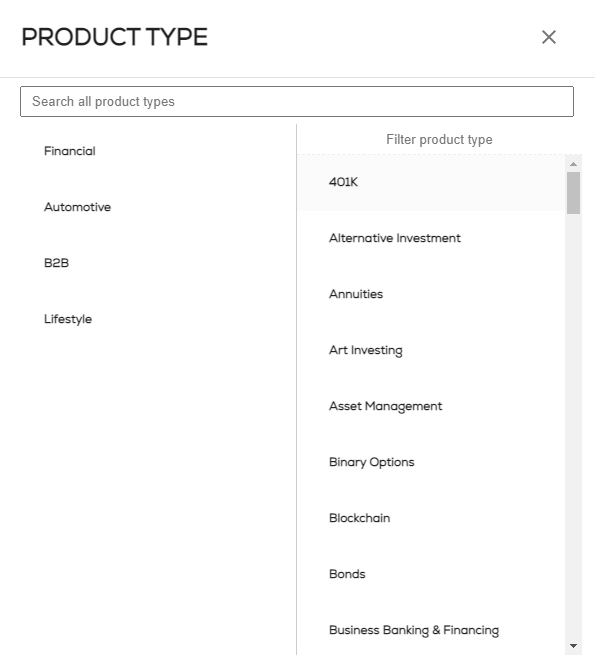
The next step is to choose your Product Type – this is to identify the type of content promoted through your ad campaign and is not shown to users who view the ads. Add your product type by clicking on the blue button and choosing a category from the pop-up list.
You must be accurate when choosing product type!
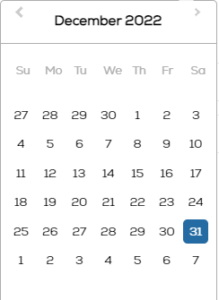
Finally, you’ll be asked to enter the End Date of your Campaign.
If you want your Ad campaign to run indefinitely leave the ‘No end date’ box ticked. If you want to set an end date, untick the box and and choose a date from the pop-up calendar.
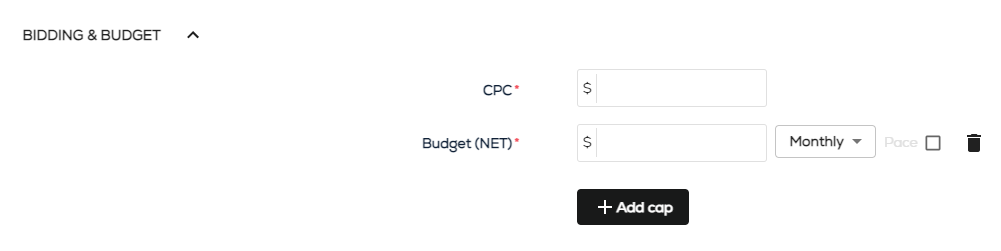
Next enter your Bidding and Budget details. To begin, enter the CPC you are willing to pay for each click to your content.
Your budget is the amount you’re willing to spend each day, week, month or overall, on clicks. Once your budget for each cap has been hit, your ad will stop running. Our system supports multiple layers to spread your budget, so you can add a combination of the above if preferred. You must select a minimum of one budget parameter.
The next section will take care of the Targeting for your campaign. To begin with, enter the landing page for your campaign into the ‘Link’ field. The link needs to include the full HTTP or HTTPS part of your landing page, and we encourage you to include third party tracking tags with UTMs, etc.
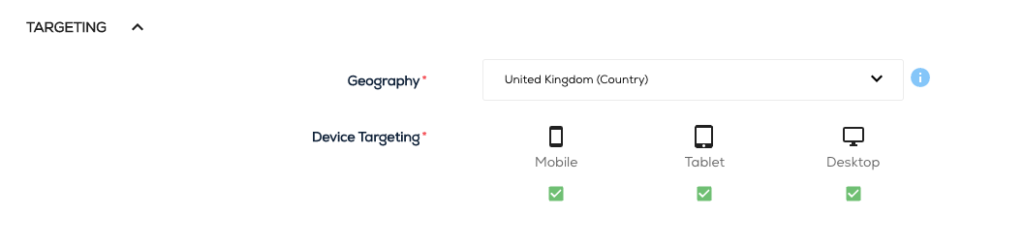
The next field allows you to choose your geo targeting.
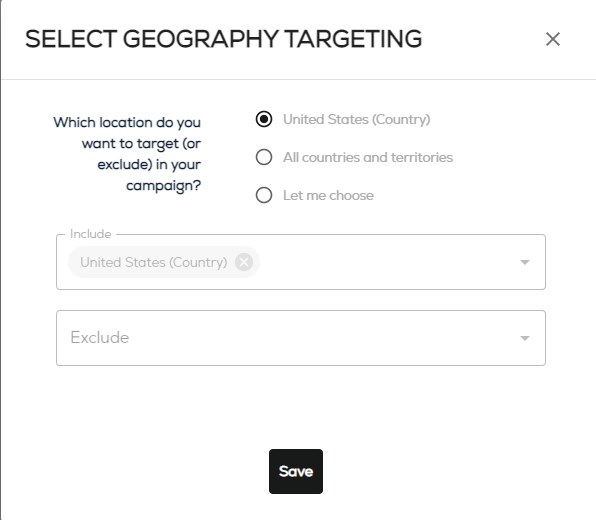
The geo targeting allows you to select which regions you want to target with your ad. As default this will be set as the country you are based in. To change this, click on the blue ‘Edit Geo Targeting’ button. On the ‘Select geography’ pop-up you have three options; to keep your current location selected, ‘All Countries and territories’ for a worldwide campaign or ‘Let me choose’ so you can select which countries to target. If you select ‘Let me choose’ you are then able to choose the countries you want to include and exclude in your ad campaign. To include or exclude a country type in the name of a country or continent in the ‘Type region here’ search bar and then select either the ‘Include’ or ‘Exclude’ blue button on the right of the drop-down search results. Once chosen the region will appear in either the Include or Exclude boxes below the ‘Type region here’ search bar, this indicated they are selected, but if you have made a mistake you can deselect a country or region by clicking on the Remove box to the right of their name.
TIP: You can include entire regions and exclude specific countries. I.E. Target the whole on the European Union minus the United Kingdom, for example. We also support states in you are targeting the US, Canada, India, Australia, etc.
Once you have completed your selection, click on the green ‘Ok’ button at the bottom of the pop-up to confirm. Once confirmed the selection with be shown above the blue ‘Edit Geo Targeting’ button in plain text.
Next you can select the Device Targeting for your campaign. Simply untick the box underneath the device/s that you don’t want the ad to appear on.
The next section is where you will start to build your Creative (also see Creative Spec). Begin by choosing an image – you can either upload your own image (400 x 320px), choose one of our pre-selected stock images free of charge, or browse your own Image Library where previously loaded images from your ads will appear.
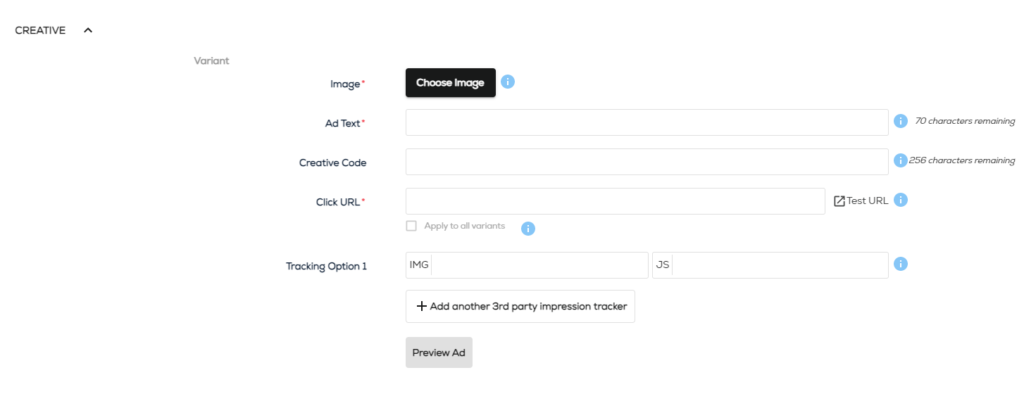
Brand/Product Description – should be your consumer brand’s name or 2-4 words that define your product. This part of your ad might not necessarily appear, and so, your ad text must be able to work without this part being displayed. The Brand/Product Description has a 25 characters maximum including spaces. As a default your brand name will always be displayed alongside your ad even if this particular section does not show.
Ad Text – tells users what you’re offering, or provides a headline to your content. It defines what your product is all about. Make sure the text will appeal to your target market. Ad Text has a 70 characters maximum, including spaces.
Call to Action – is the consumer outcome you are looking for from the Ad. To choose a Call to Action click on the white drop down menu, you have 7 option including ‘Click here’. If you choose ‘Other’, then you can enter your Call to Action with a 20 character maximum. Again, this part of the ad might not be shown on all publishers.
To create multiple ads within the same campaign, simply create new variants by clicking ‘Add variant for testing’.
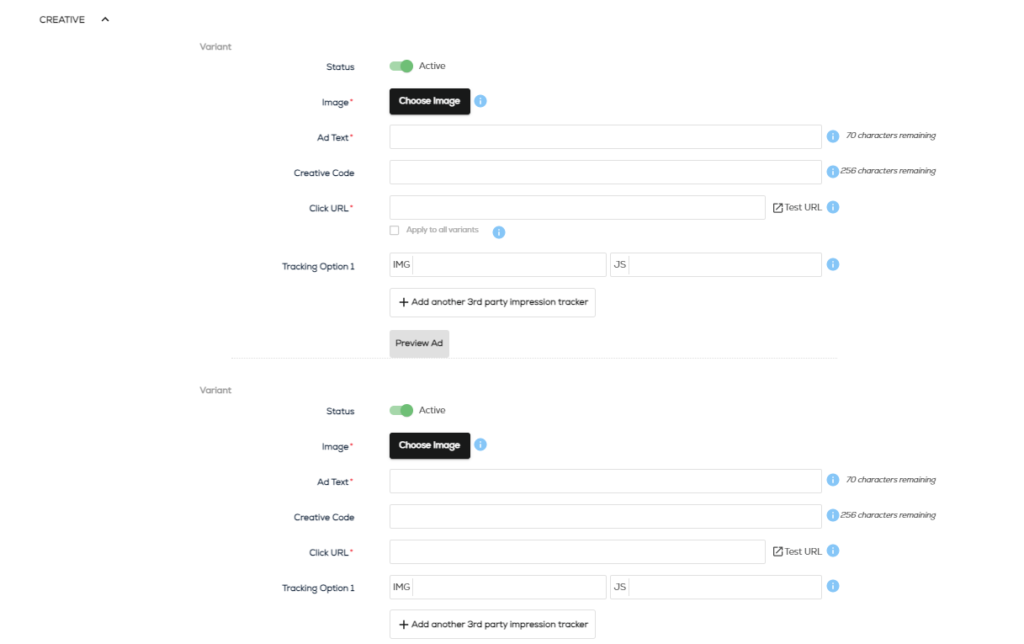
This is useful for A/B testing different text and images for the same campaign. You can continue adding sections by clicking on the ‘Add variant for testing’ button again. There is a limit of running 5 active variants at any time. Once statistically significant data is collected your lowest performing variants are automatically deactivated.
Complete your ad campaign by Saving and sending it for approval.
If you do not want your campaign to be submitted for approval yet, simply select Save instead, this will save the campaign for future editing but not activate it. Saved campaigns can be found on the ‘Manage’ tab on the left hand-side menu.
If at the point of creating your campaign you are ready to go live, you can Save and send the campaign for approval by clicking on the Green ‘Save and send for approval’ button at the bottom of the page. Once clicked on the ad will be checked and approved to go online within 24 hours. You can view all your saved and live campaigns on the ‘Manage’ tab on the left hand-side menu.